8 X 10 film back conversion
This page documents my conversion of this soviet 18X24cm glass plate camera to use normal 8X10 sheet film. Basically I used the plate back that came with the camera as a starting point. I modified it to then attach a wooden film camera back to the plate back that came with the camera to allow the use of sheet film. I'm going to assume you know how to drill screw pilot holes, glue boards together with clamps etc. So here is how I did this to my camera.
I
started
by
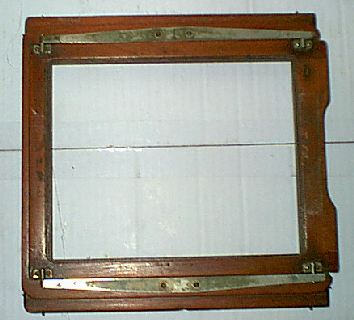
taking the ground glass panel off of the plate back.

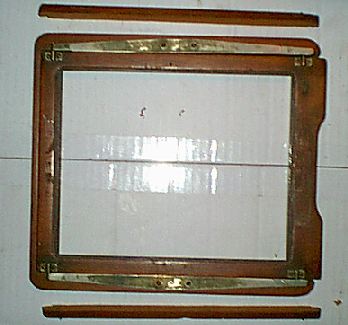
Next I disassembled the ground glass panel to use the wood. On my sample the glue had given it up but if your's doesn't come apart like mine did, you can cut the pieces you need out of the frame later just as easily.

I then took the two pieces shown on the left above and cut them to length so they fit on the sides vertically between the two pieces already in place horizonally on the plate back. These get sanded, as do all the glued surfaces, then glued upside down with the bevel to the inside as shown. I used these pieces as they are the same thickness as the wood at the top and bottom and would match when refinished.
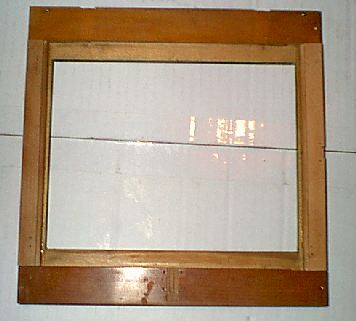
Next I took a sabre saw with a very fine tooth "metal cutting" blade and trimmed the vertical hight of the opening to match the film back. The sides can't be enlarged by cutting, as the opening in the rear of the bellows is slightly too small, but are later beveled with a wood rasp as seen in detail in the second shot. This is only about 1/4" on each side so should never cause any problems as far as blocking the film from the lens, especially with the back spaced away from the camera like this conversion does.
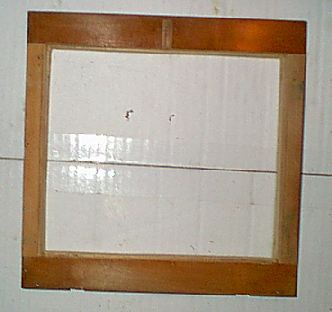
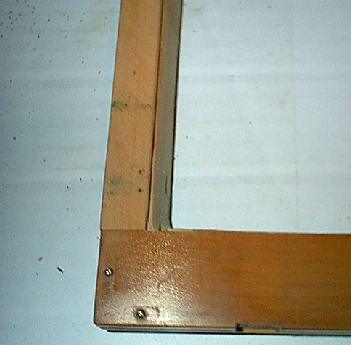
The next step was cutting some 3/4" X 1/2" wood strips to act as a spacer between the plate back and the film back. I used this design to allow the original latches to hook onto the plate back. Care must be taken on one end to allow the latches to work with the back in the vertical position. This will be obvious when you get to this point. I screwed these pieces to the plate back with wood screws from the inside and let the tips of the screws on the top and bottom pieces slightly protrude from the surface to help hold the film back in place when it's later glued.
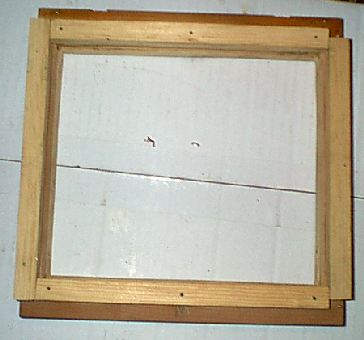
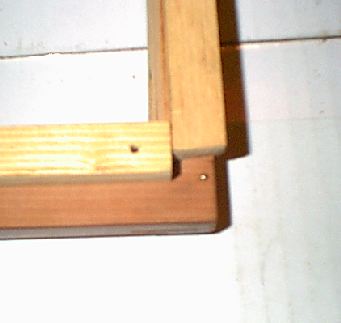
As you can see in the below detail, I cut the piece on one end shorter to allow room for the latch to hook onto the screw heads at the corner of the original plate back when used in the portrait format.
Next was prepping the film back before it is glued in place. I removed the glass to avoid breakage and used the same sabre saw to remove the top and bottom strips that are no longer needed and would be in the way of tilt movements. Below is shown before and after cutting these strips off and rounding off the corners with a rasp.
All that is left is gluing the film back to the prepped plate back/adapter. Like I said earlier I let the ends of some of the screws protrude so that during the gluing/clamping process the film back couldn't shift out of place. After the glue dried I installed longer screws in the horizontal pieces from the inside so they would also grab the film back and help hold the sandwich together. Probably was overkill but can't hurt. Below is a couple of shots of the finished film back in place on the camera in both positions.


I still need to finish/stain some of the wood to match but otherwise it's done and works quite well. I can now use normal 8X10 sheet film holders which makes this camera a useable piece of equipment. Hope this helps someone who has one of these cameras convert it to something they can use to make great images!